How to Install Z-Image Locally on Your PC [Guide]
In this guide you will learn how to install and use Z-Image locally on your own PC, step by step and in the simplest way possible. I will show you the most user-friendly and convenient method currently available to run this AI completely free, without unnecessary complications or technical hurdles.How to Download and Install Z-Image [Step-by-Step Guide]
STEP 1: Download and Install ComfyUI
ComfyUI is a very popular piece of software used to run different AI models through a user-friendly interface. With it, you can use multiple types of AI models, including text-to-image, image-to-image, and text-to-video. The download and installation process is very straightforward:- Visit the official ComfyUI website and download the installer.
- Open the installer on your PC and follow the simple on-screen steps.
STEP 2: Import the Z-Image Template into ComfyUI
- Open the "Templates" section located in the left sidebar.
- Select the Z-Image-Turbo Text to Image template by clicking on it. If you cannot find it, simply type "Z-Image" into the template search bar.

STEP 3: Download the Required Models
After importing the template from the previous step, a pop-up window should appear listing all the models required for Z-Image to work. Simply click "Download" on each one. It is highly recommended to download all models directly from this pop-up window, as they will be automatically placed into the correct folders. You can also download and install them manually if needed, which I will explain later in case the pop-up does not appear.IMPORTANT NOTE
The models required for this workflow are designed for systems with powerful GPUs, ideally with around 16GB of VRAM. If you have a less powerful GPU (for example, mine has 6GB of VRAM), you will need to follow additional steps for Z-Image to work correctly on your PC.
Guide to Using Z-Image on Low VRAM GPUs How to Use Z-Image Turbo Locally with ComfyUI
From this point on, generating images with Z-Image is very straightforward, although it may seem complex if you are not familiar with ComfyUI. Below, I explain everything you need to know to start generating images.Essential Panels ("Nodes") in the Z-Image Workflow
You will see several connected panels called nodes. Each one has a different function, but the two most important ones you need to understand and control are the following:
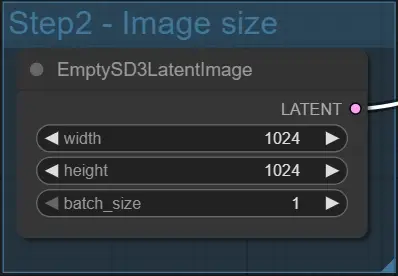 1. "Step2 - Image Size" Panel: Here you can select the width and height of the generated image. Smaller sizes generate images faster.
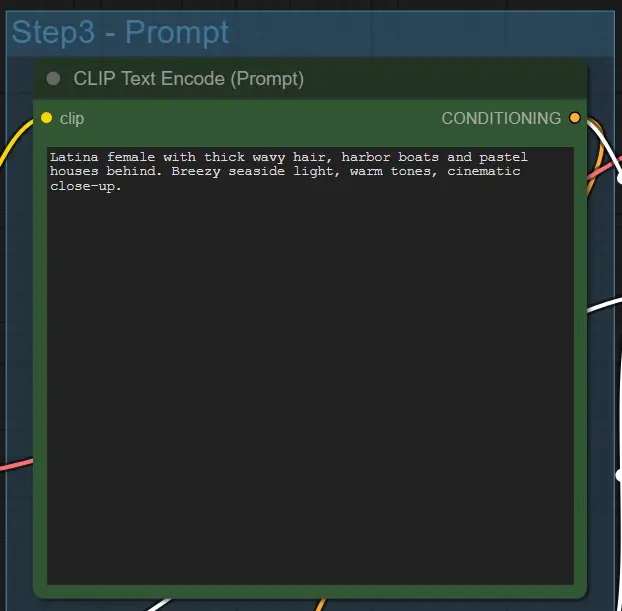 2. "Step3 - Prompt" Panel: This is where you enter the prompt that will be used to generate the image.
The remaining panels are also useful, but you do not need to modify them to start generating your first images.
2. "Step3 - Prompt" Panel: This is where you enter the prompt that will be used to generate the image.
The remaining panels are also useful, but you do not need to modify them to start generating your first images.
RECOMMENDED GUIDES